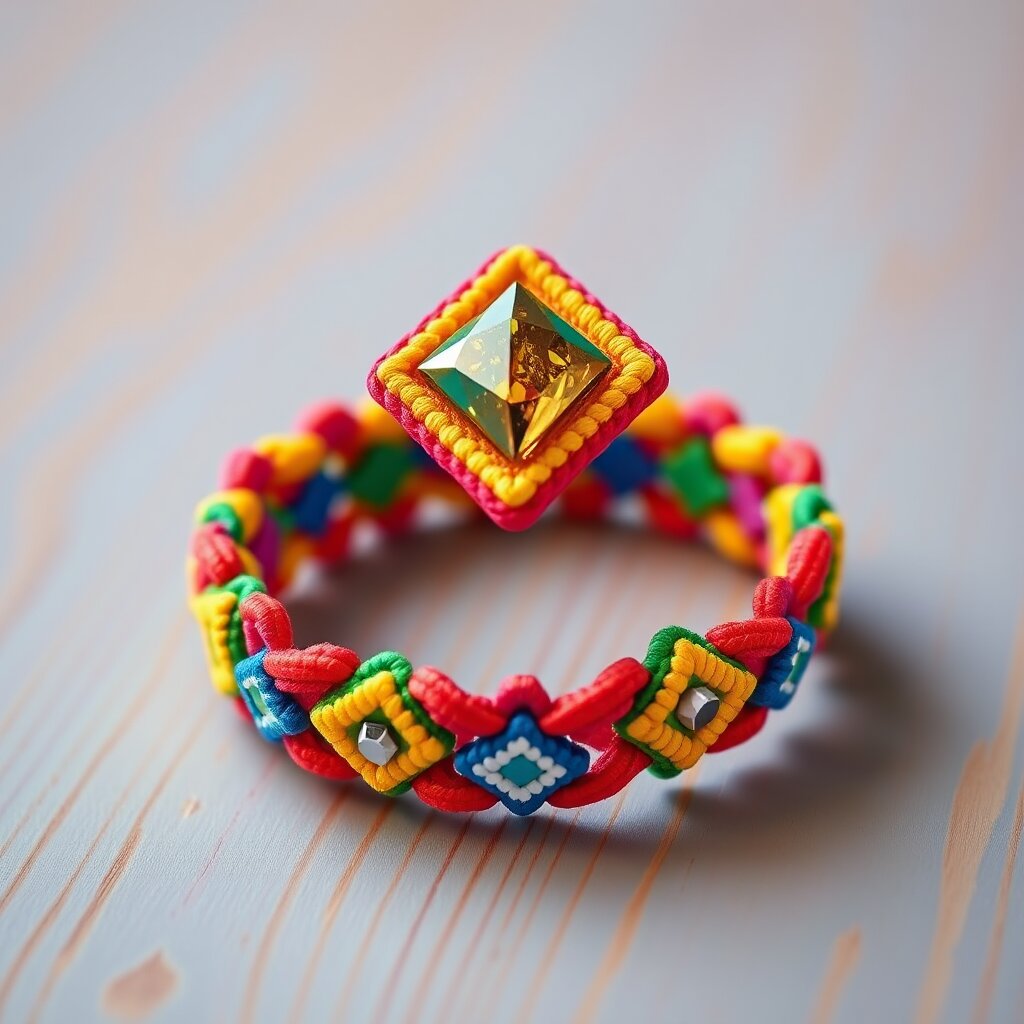
Simple Diamond Friendship Bracelet
Create a beautiful, colorful bracelet with a classic diamond pattern using the art of friendship knotting. Kids will learn basic weaving techniques and how to create geometric patterns with string.
Tools
- scissors
- safety pin or clipboard
- ruler
Materials
- embroidery floss in 4 different colors (approx. 30 inches per strand, 4 strands total)
- clear tape (1 piece)
Safety
- Adult supervision recommended when using scissors.
- Be careful with safety pins to avoid pricking fingers.
- Adult supervision required for sharp objects.
- Do not wrap string around neck or limbs.
Steps
- Cut four different colors of embroidery floss, each about 30 inches long.
- Tie all four strands together in a single knot at the top, leaving about 3 inches of tail for tying the bracelet later.
- Tape the knot to a table or secure it with a safety pin to a pillow or clipboard to keep the strings tight.
- Arrange the strings in a mirror order (for example: Red, Blue, Green, Blue, Red) or simply lay them out flat.
- To start the diamond, take the outermost left string and make a forward knot (loop over and under) with the string immediately to its right.
- Repeat this process, moving the first string across every other string until it reaches the far right side.
- Now, take the outermost right string and make a backward knot (loop over and under) moving toward the left side.
- Continue alternating sides, knotting the outer strings toward the center to create the narrowing and widening 'diamond' shape.
- Keep repeating the pattern of moving strings from the outside in and then back out until the bracelet is long enough to fit your wrist.
- Tie all the strings together in one final knot at the end.
- Trim any excess string and tie the two ends together around your wrist.