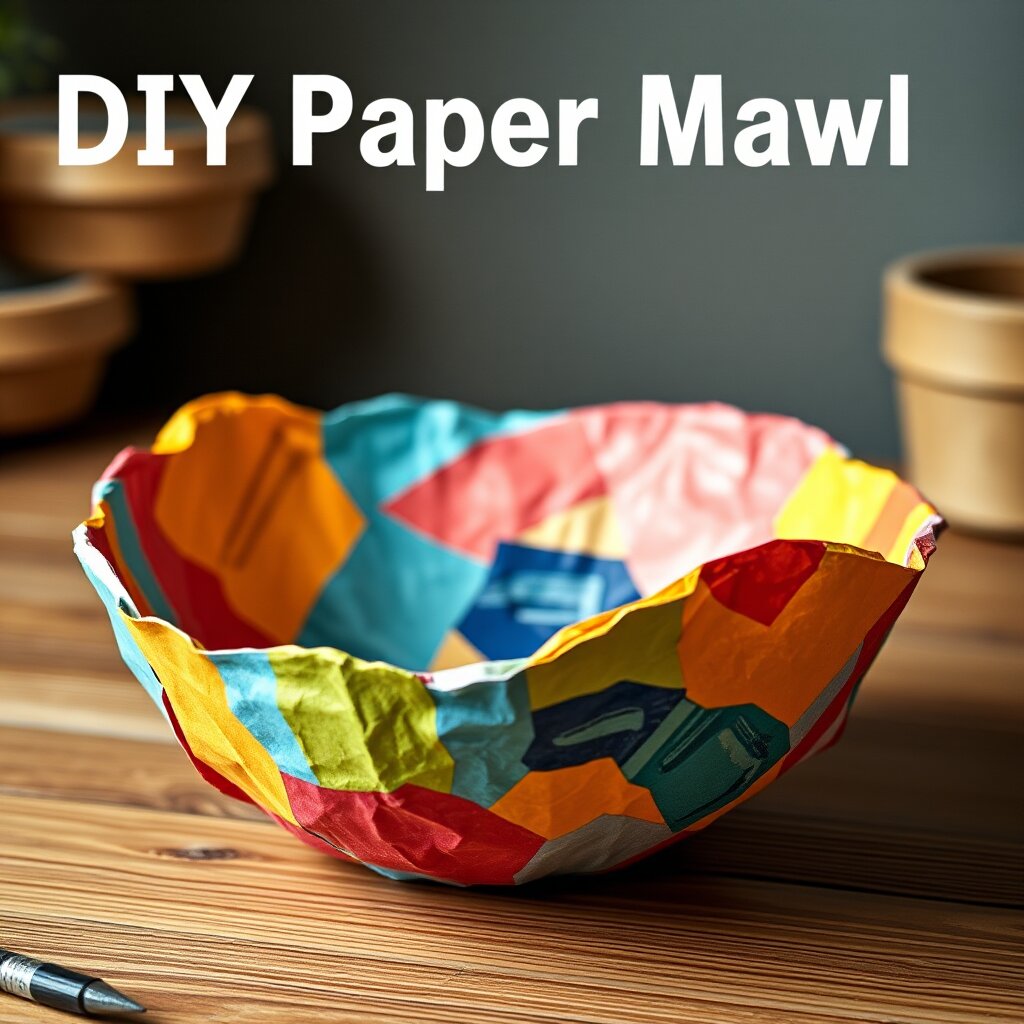
DIY Paper Mache Bowl
Create a sturdy, custom-shaped bowl using a mixture of flour and glue. Learn how to turn recycled paper into a hard sculpture that you can paint and decorate!
Tools
- mixing bowl
- fork
- measuring cups
- kitchen bowl (for mold)
- scissors
Materials
- all-purpose flour (1/2 cup)
- PVA school glue (1/2 cup)
- room temperature tap water (1 cup)
- plastic wrap (1 sheet)
- packing paper or newspaper (approx. 10-15 sheets)
- ribbon (1 foot)
- paint (assorted colors)
Safety
- Adult supervision required when using scissors.
- Be mindful of flour allergies.
- Cover your workspace with a tablecloth or newspaper to prevent glue spills.
- Adult supervision required for sharp objects.
- Protect work surface. Materials may stain clothing.
- Do not wrap string around neck or limbs.
- Adult supervision required for children under 8.
Steps
- Prepare the paste: Pour 1 cup of water and 1/2 cup of flour into a mixing bowl. Stir with a fork until the flour is fully incorporated and there are no lumps.
- Finish the glue: Add 1/2 cup of PVA glue to the flour mixture and stir until smooth.
- Prepare the mold: Take your kitchen bowl and cover the outside of it tightly with plastic wrap so the paper mache doesn't stick to the bowl.
- Prepare the paper: Rip your packing paper or newspaper into small pieces with ragged edges. Do not cut them with scissors, as ripped edges blend together better.
- Apply the first layer: Dip pieces of ripped paper into the glue mixture and smooth them over the plastic-wrapped bowl, overlapping the pieces slightly.
- Build strength: Repeat the dipping and layering process until you have applied 5 to 6 layers of paper. This ensures the bowl is sturdy once dry.
- Dry the project: Set the bowl aside and let it dry completely. Depending on humidity, this usually takes overnight.
- Remove the mold: Once the paper is hard and dry, gently remove the plastic wrap and the kitchen bowl from inside the paper shell.
- Finish and decorate: Use scissors to trim the top edge of the bowl for a clean look. Paint the bowl with your favorite colors and add a ribbon around the rim for embellishment.