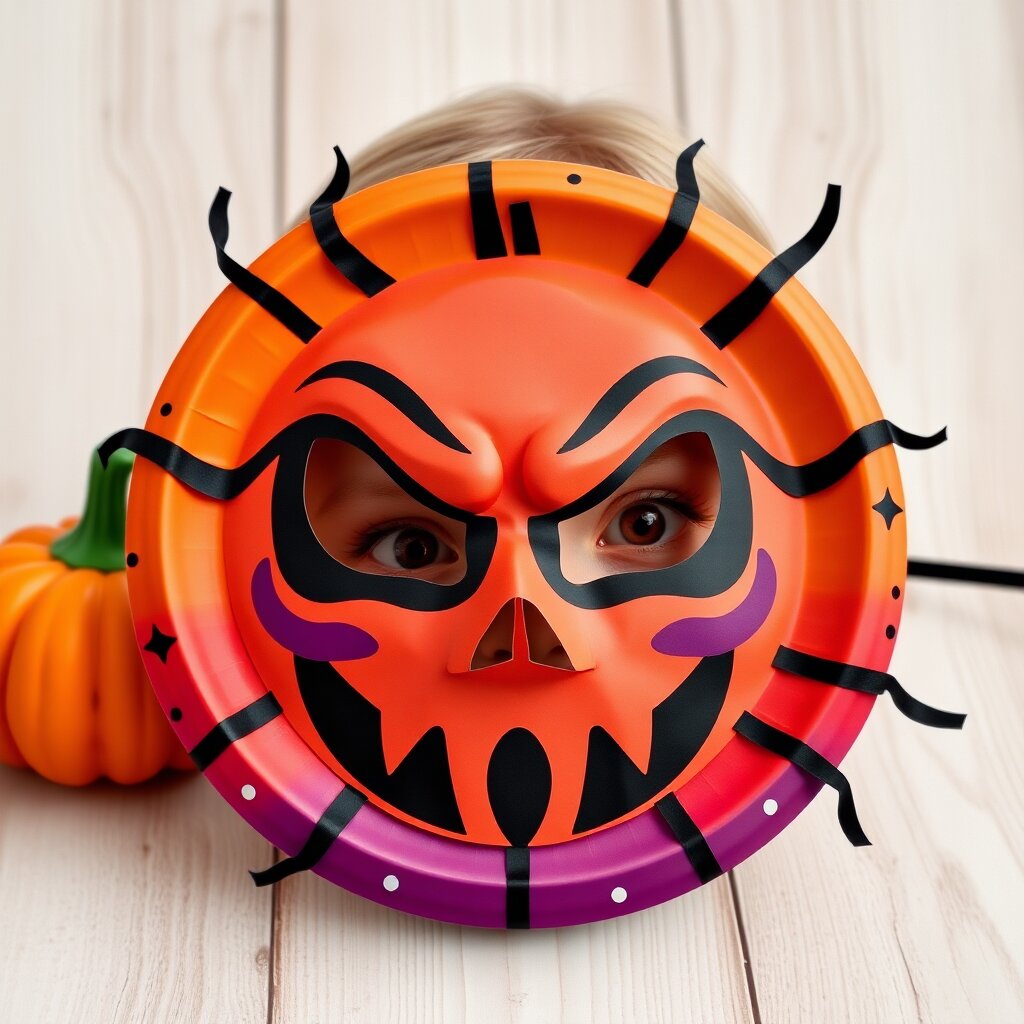
Halloween Paper Plate Masks
Create your own spooky Halloween characters like a black cat or a jack-o'-lantern using simple paper plates. This project helps kids practice color mixing and fine motor skills through painting and assembling.
Tools
- scissors
- stapler
- paintbrushes
- pencil
- pen
Materials
- paper plates (9-inch, 2 per mask)
- bottle cap (1 for tracing)
- paint (black, orange, white, red, green)
- pipe cleaners (2 per mask)
- jumbo popsicle sticks (1 per mask)
- scotch tape (1 roll)
Safety
- Adult supervision required when using scissors and the stapler.
- Adult assistance needed to poke holes in the paper plates with a pen.
- Adult supervision required for sharp objects.
- Protect work surface. Materials may stain clothing.
- Adult supervision required for children under 8.
Steps
- Flip a paper plate over so the eating side is facing down. Use a bottle cap to trace two circles for the eyes.
- Use a pen to poke a hole in the center of each circle, then use scissors to cut out the eye holes.
- On a second paper plate, draw and cut out two triangles to serve as ears (for the cat) or a small rectangle for a stem (for the pumpkin).
- Position the ears or stem on the main plate and secure them using a stapler and a piece of scotch tape for extra stability.
- Paint the mask. For a cat, paint the entire face black. For a jack-o'-lantern, paint the face orange and the stem green. Let the paint dry completely.
- Add details using a smaller brush. For the cat, paint a white outline for the mouth, nose, and ears, then fill them in with a mix of red and white paint to make pink. For the pumpkin, paint a black triangle nose and a jagged smile.
- To add whiskers or vines, use a pen to poke holes on the sides of the nose. Push a pipe cleaner through the holes and bend it to shape.
- Attach a jumbo popsicle stick to the bottom of the mask using scotch tape to create a handle for holding the mask up to your face.