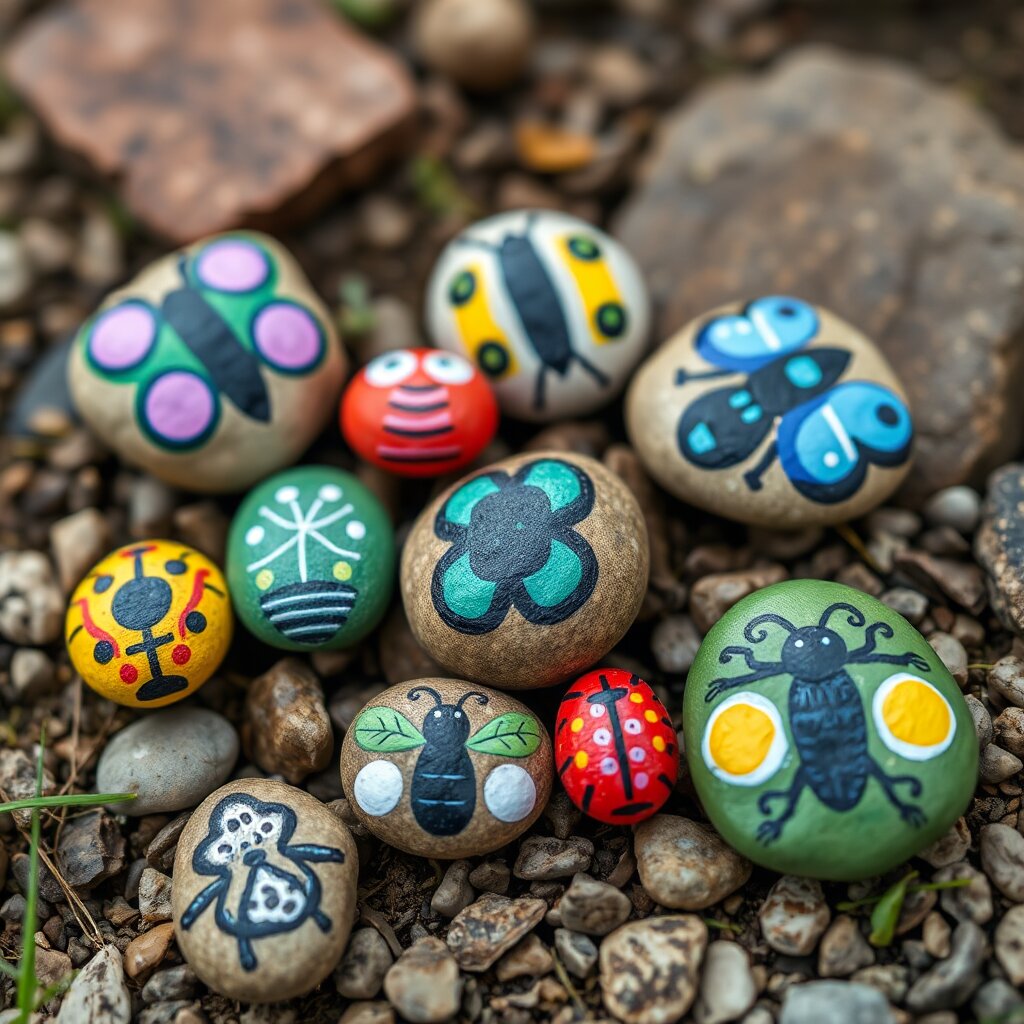
Painted Rock Bugs
Transform smooth stones from your backyard into colorful insects! You will learn how to use a primer for bright colors and use household items as stamps to create bug patterns.
Tools
- paintbrushes
- pencil with eraser
- black permanent marker (1)
Materials
- smooth round rocks (3-5)
- white acrylic paint (2 oz)
- red acrylic paint (2 oz)
- black acrylic paint (2 oz)
- googly eyes (6)
- glue stick (1)
- dirt (1 cup)
- dried moss (1 handful)
Safety
- Adult supervision recommended when using paint and glue.
- Wash hands thoroughly after handling dirt and rocks.
- Googly eyes are small and can be a choking hazard for very young children.
- Small parts pose a choking hazard. Supervise young children.
- Protect work surface. Materials may stain clothing.
- Adult supervision required for children under 8.
Steps
- Go outside and collect smooth, round rocks that are the shape of the bugs you want to make.
- Paint the entire surface of each rock with white paint. Let this dry completely; this acts as a primer to make your colors look bright and shiny.
- Choose your bug color (such as red for a ladybug) and paint the entire rock. Let the paint dry completely.
- Use a black permanent marker to draw a line around the smaller end of the rock to create the head, then color in that section completely.
- Draw a straight line with the black marker from the head down the center of the rock to create the division between the two wings.
- Dip the eraser end of a pencil into black paint and stamp small circles onto the wings to create bug spots.
- Apply a small amount of glue from the glue stick to the back of two googly eyes and press them onto the black head section.
- Create a habitat for your bugs by pouring one cup of dirt onto a plate and decorating it with a handful of moss.
- Place your finished rock bugs into their new dirt and moss home.