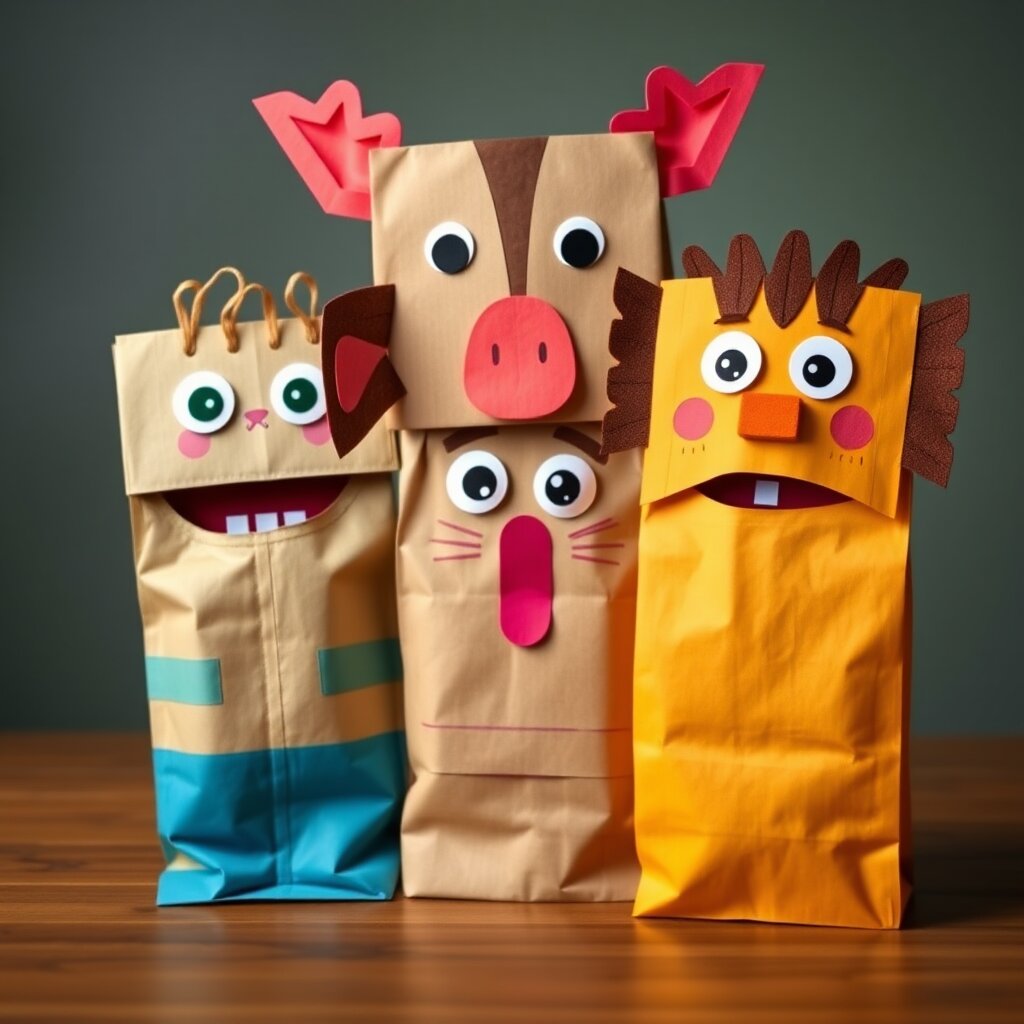
Fun Paper Bag Puppets
Create your own talking characters using simple paper bags! You'll learn how to design a puppet face and use the bag's fold to make your character's mouth move.
Tools
- scissors
- markers
Materials
- small brown or white paper lunch bags (1 per puppet)
- colored construction paper (3 sheets)
- googly eyes (2 per puppet)
- school glue (4 oz bottle)
- pipe cleaners (2 per puppet)
- pom poms (3 per puppet)
Safety
- Adult supervision required when using scissors.
- Be careful not to ingest small parts like googly eyes or pom poms (choking hazard).
- Adult supervision required for sharp objects.
- Small parts pose a choking hazard. Supervise young children.
- Protect work surface. Materials may stain clothing.
- Adult supervision required for children under 8.
Steps
- Lay your paper bag flat on the table. The bottom flap of the bag will be the puppet's mouth, so the 'face' will be decorated on the folded bottom part.
- Decide what character you want to make (like a monster, animal, or alien) and draw a sketch on a piece of scrap paper.
- Cut out shapes from the colored construction paper to create the puppet's features, such as ears, hair, or a nose.
- Glue the construction paper shapes onto the bottom flap of the bag to build the face.
- Glue two googly eyes onto the flap above where the mouth opens.
- Attach pipe cleaners to the sides of the bag or the top of the head to create arms or antennae.
- Glue pom poms onto the top of the head for a fuzzy look or use them as a nose.
- Let the glue dry completely for about 15 minutes.
- Place your hand inside the bag and put your fingers inside the bottom flap to make your puppet talk!