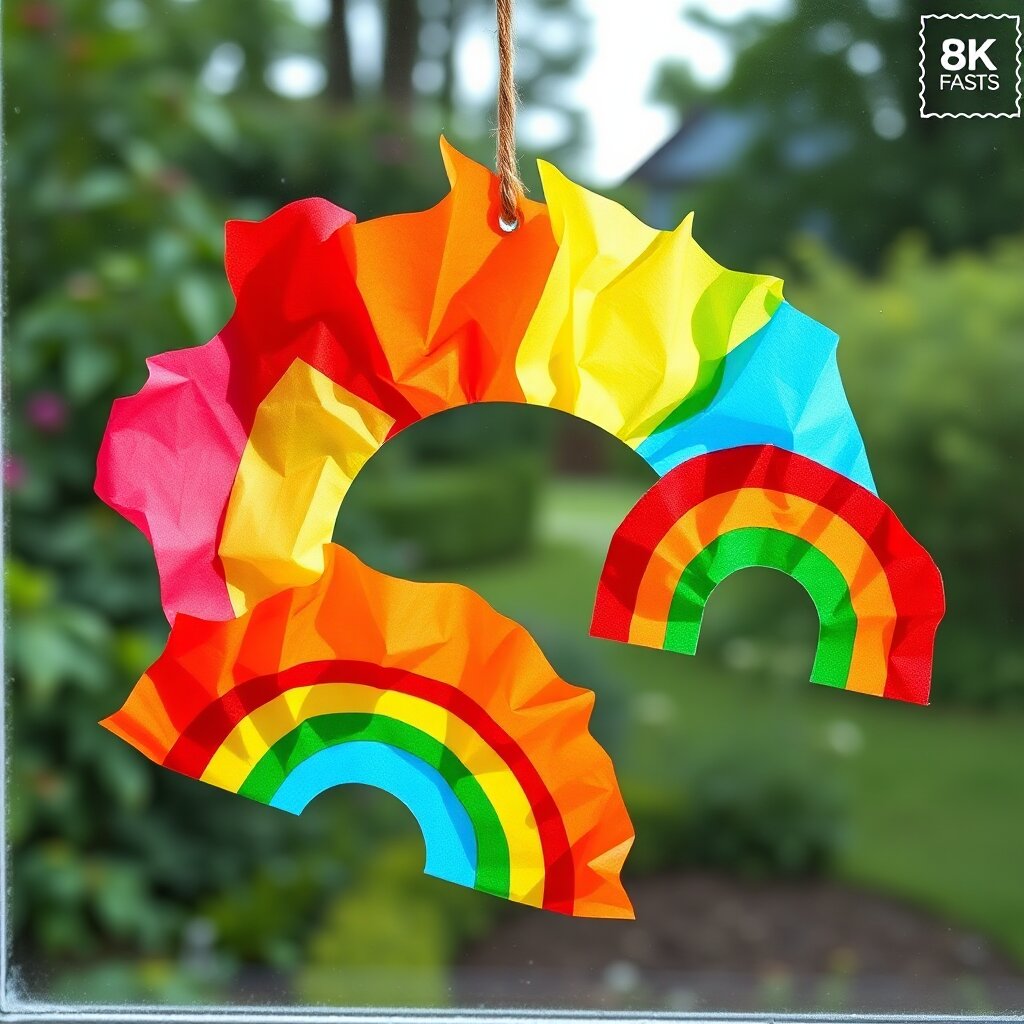
Rainbow Tissue Paper Suncatchers
Create a beautiful, translucent rainbow that catches the sunlight in your window. This project teaches kids about colors and how light passes through different materials.
Tools
- scissors
- pencil
Materials
- black construction paper (12x18 inch, 1 sheet)
- multi-colored tissue paper (squares, 20 pieces)
- clear contact paper or wide transparent adhesive film (12x18 inch, 1 sheet)
- glue stick (1 unit)
- string or yarn (12 inches, 1 piece)
Safety
- Adult supervision recommended when using scissors.
- Be careful with the sticky side of the contact paper to avoid sticking to clothing or hair.
- Adult supervision required for sharp objects.
- Protect work surface. Materials may stain clothing.
- Do not wrap string around neck or limbs.
- Adult supervision required for children under 8.
Steps
- Draw a large rainbow arc or a specific shape (like a cloud or heart) on the black construction paper using a pencil.
- Carefully cut out the shape with scissors, making sure to cut out the center of the rainbow so that only a black frame remains.
- Cut the multi-colored tissue paper into small squares or organic shapes, roughly 1-2 inches in size.
- Lay the clear contact paper sticky-side up on a flat surface.
- Press the colorful tissue paper pieces onto the sticky contact paper, grouping them by color to create the rainbow effect (red, orange, yellow, green, blue, purple). Leave a small gap between some pieces to let more light through.
- Carefully press the black construction paper frame on top of the tissue paper, sandwiching the colors against the adhesive film.
- Smooth out any air bubbles with your hand and trim any excess contact paper from around the edges of the black frame.
- Punch a small hole at the top of the black frame and tie the string through it to create a hanger.
- Hang your suncatcher in a sunny window and watch the colors glow!