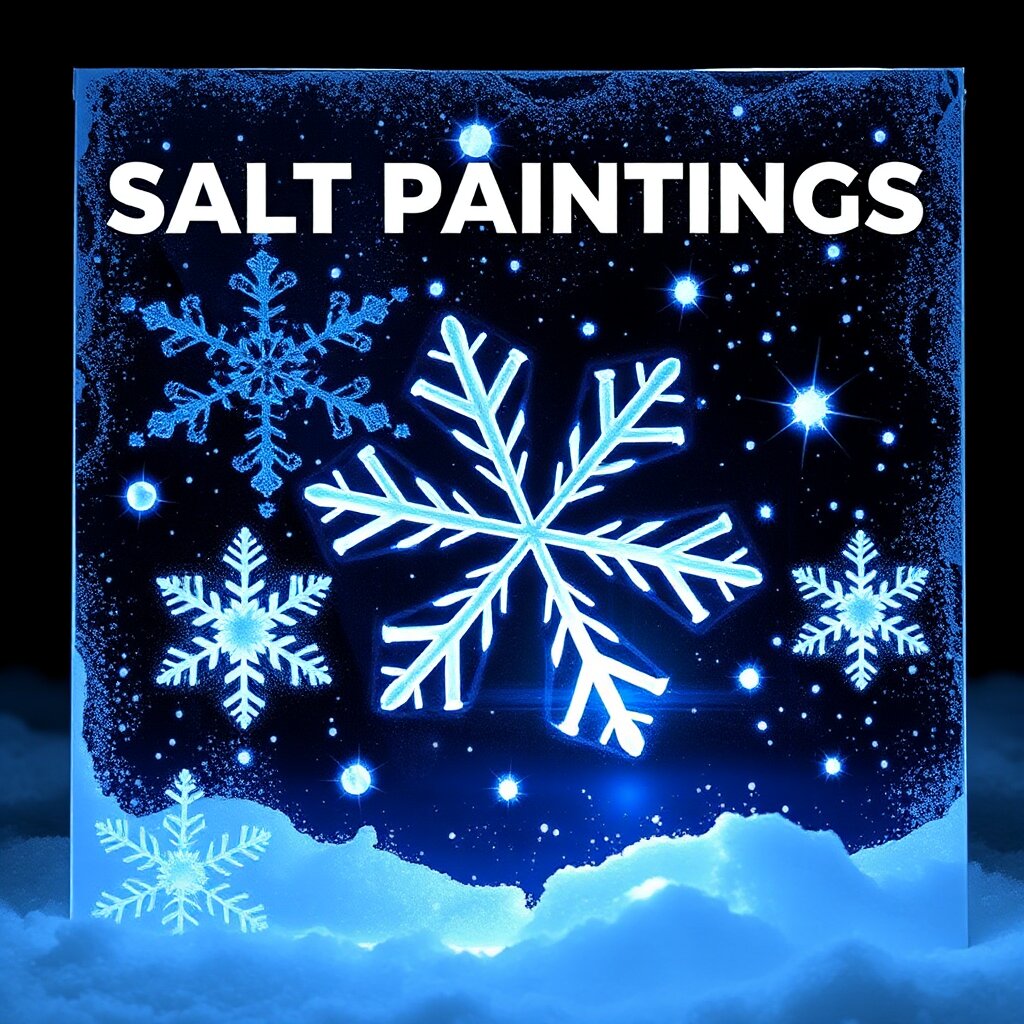
Magic Snowflake Salt Paintings
Create shimmering, crystalline snowflakes using a cool science-meets-art technique. Kids will learn how salt absorbs liquid watercolor to create beautiful, textured patterns.
Tools
- paintbrushes
- pencil
- paper towels
Materials
- blue cardstock or heavy paper (8.5 x 11 inch, 2 sheets)
- table salt (1 cup)
- white school glue (4 oz bottle)
- liquid watercolors or food coloring mixed with water (3 colors: blue, purple, teal)
- glitter (1 tbsp, optional)
Safety
- Adult supervision recommended when using glue and paints to prevent messes.
- Ensure children do not ingest the salt or paint.
- Protect work surface. Materials may stain clothing.
- Adult supervision required for children under 8.
Steps
- Use a pencil to lightly draw a snowflake shape or a star pattern in the center of the blue cardstock.
- Squeeze the white school glue onto the paper, following the pencil lines of the snowflake. Make sure the glue lines are thick and continuous.
- Pour a generous amount of table salt over the wet glue until the lines are completely covered. Shake off the excess salt onto a tray or piece of paper to be reused.
- Gently tap the paper to remove any loose salt, leaving only the salt that has adhered to the glue.
- Dip a paintbrush into the liquid watercolor or colored water. Gently touch the brush to the edge of the salt lines.
- Watch as the color 'travels' and spreads along the salt lines through capillary action, filling in the snowflake.
- Repeat with different colors to create a multi-colored, shimmering effect.
- Allow the painting to dry completely (about 1 hour).
- Optional: Sprinkle a small amount of glitter over the wet paint for extra sparkle before it dries.