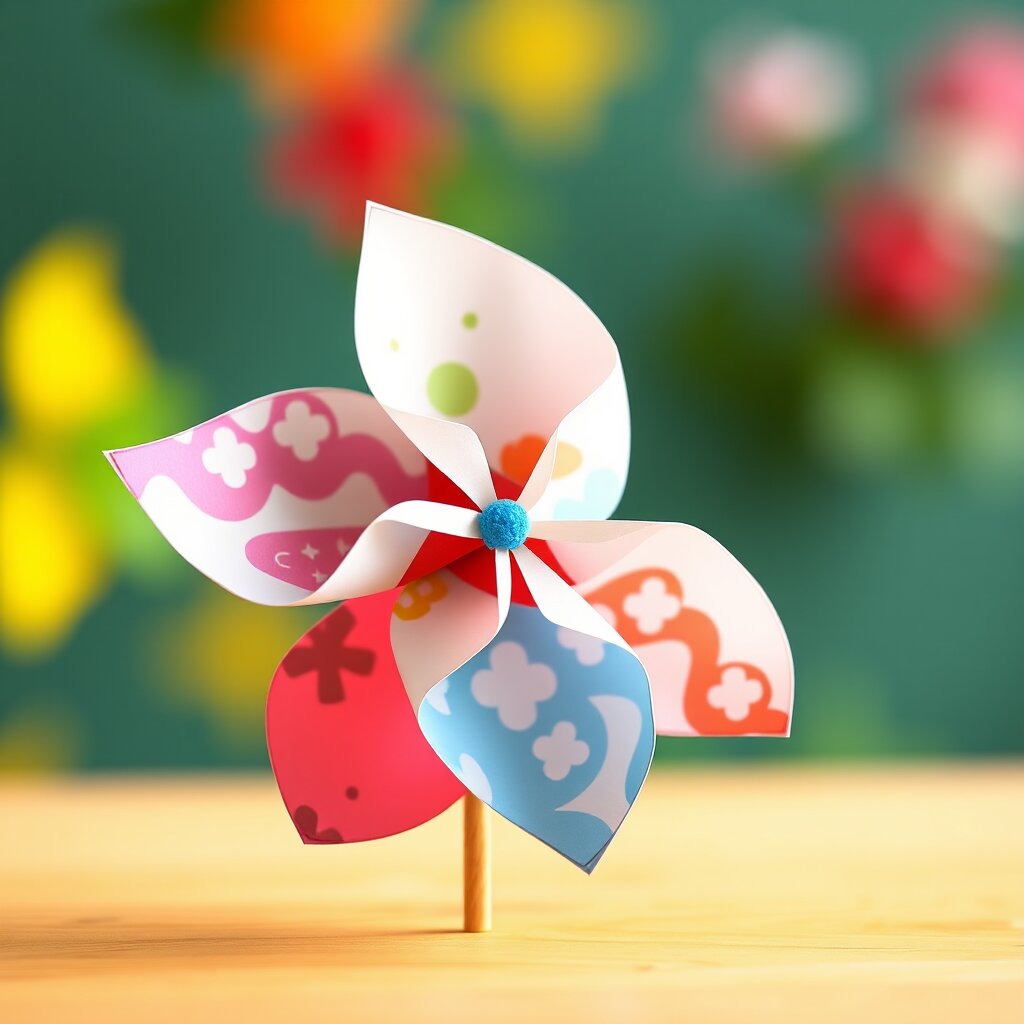
Spinning Paper Pinwheel
Create a colorful pinwheel that spins in the wind! This project teaches kids about wind energy and basic geometry through a fun, hands-on craft.
Tools
- scissors
- ruler
- pencil
Materials
- square colored paper (6-inch x 6-inch, 1 sheet)
- wooden dowel or sturdy straw (12 inches, 1)
- push pin or thumbtack (1)
- bead (small plastic, 1)
- glue stick (1)
Safety
- Adult supervision is required when using push pins and scissors.
- Be careful with the sharp point of the push pin.
- Adult supervision required for sharp objects.
- Small parts pose a choking hazard. Supervise young children.
- Protect work surface. Materials may stain clothing.
- Adult supervision required for children under 8.
Steps
- Draw two diagonal lines from corner to corner on your square piece of paper to create an 'X' shape.
- Cut along the diagonal lines from the corners toward the center, stopping about 1 inch before you reach the middle point.
- Starting at one corner, gently fold every other triangle point into the center of the square without creasing the paper.
- Apply a small dot of glue to the tip of each folded point to hold them together in the center.
- Use a push pin to poke a small hole exactly through the center of the pinwheel and the folded points.
- Slide the push pin through the center of the paper and then push it into the top of your wooden dowel or straw.
- Slide a small bead onto the pin between the paper and the dowel; this acts as a spacer so the pinwheel can spin freely.
- Push the pin firmly into the dowel, but not so tight that the paper cannot rotate.
- Take your pinwheel outside and hold it up to the wind to watch it spin!