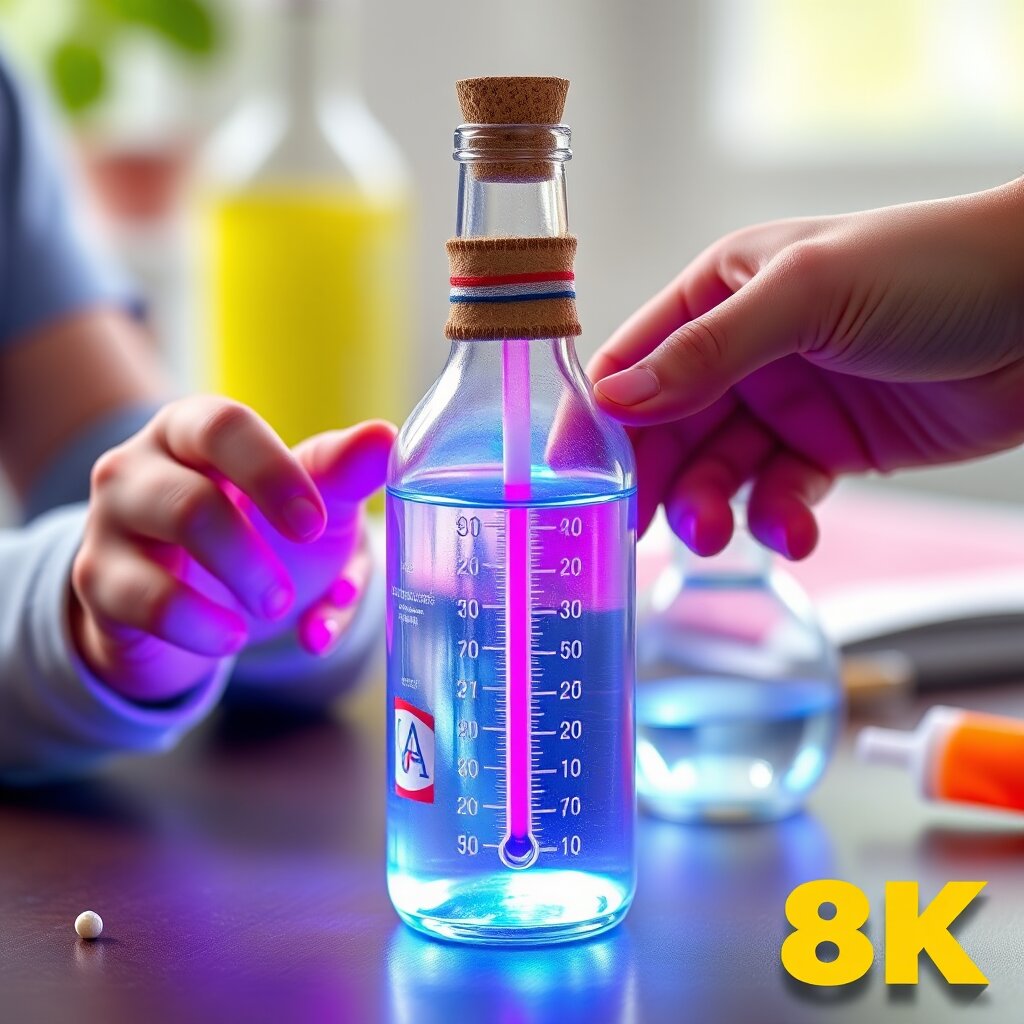
DIY Bottle Thermometer
Build your own thermometer to see how liquids expand when they get warm! You'll learn about thermal expansion and how temperature changes affect the molecules in water.
Tools
- scissors
- permanent marker
- ruler
Materials
- small plastic water bottle (8 oz, 1)
- rubbing alcohol (2 tbsp)
- water (2 tbsp)
- food coloring (3 drops)
- modeling clay or playdough (1 small ball)
- plastic straw (6 inches, 1)
- cardstock paper (1 sheet)
Safety
- Adult supervision required when handling rubbing alcohol.
- Keep rubbing alcohol away from open flames and eyes.
- Adult supervision required when using scissors.
- Adult supervision required for sharp objects.
- Protect work surface. Materials may stain clothing.
- Adult supervision required for children under 8.
Steps
- Fill the plastic bottle with 2 tablespoons of water and 2 tablespoons of rubbing alcohol.
- Add 3 drops of food coloring to the liquid and swirl the bottle gently to mix it.
- Insert the plastic straw into the bottle, making sure it does not touch the very bottom of the container.
- Take the modeling clay and wrap it tightly around the straw at the mouth of the bottle to create an airtight seal. Ensure no air can escape except through the straw.
- Cut a strip of cardstock paper (about 1 inch wide and 8 inches long) and tape it to the back of the bottle to act as your scale.
- Mark a starting line on the cardstock where the liquid currently sits in the straw.
- To test the thermometer, place the bottle in a bowl of warm water. Watch as the liquid rises up the straw.
- Mark the new height on your cardstock. Now, move the bottle to a bowl of ice water and watch the liquid drop back down.