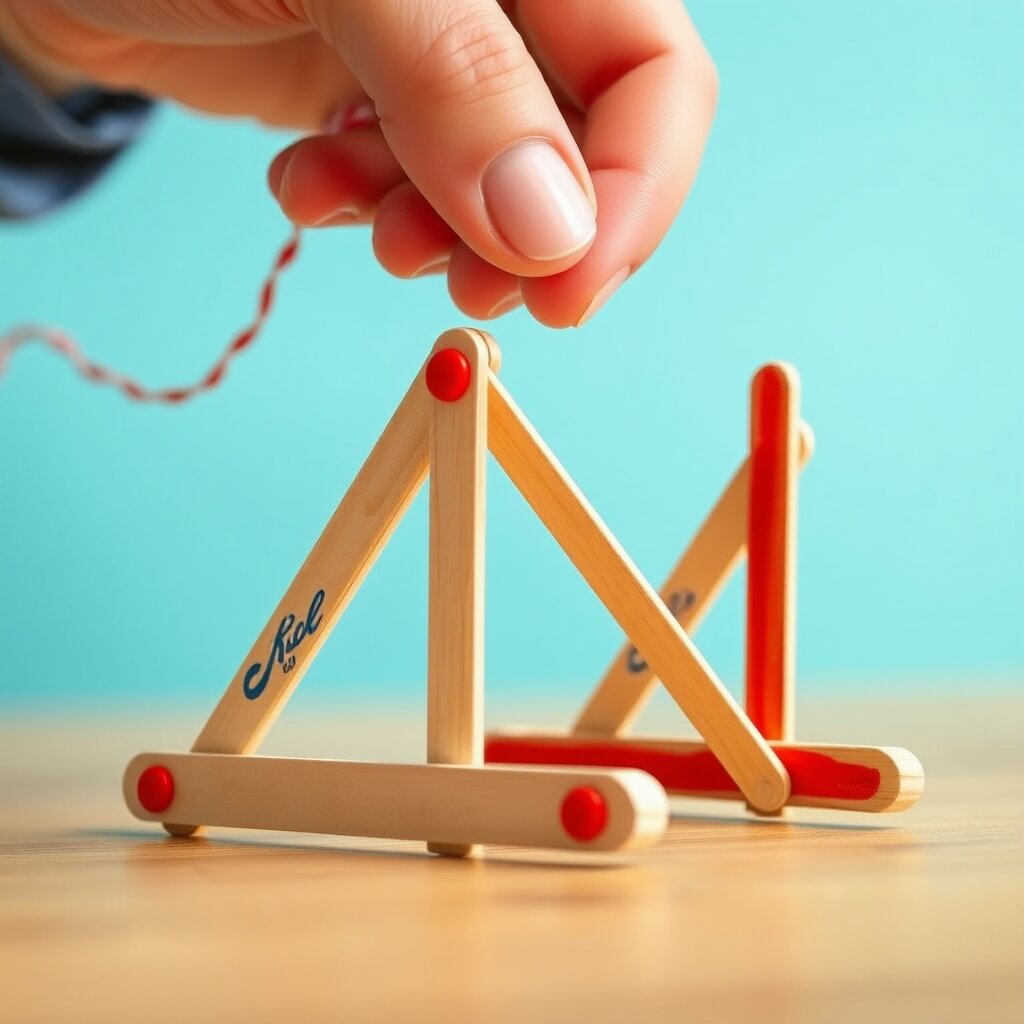
DIY Popsicle Stick Catapult
Build your own working catapult to explore the physics of levers and energy! You'll learn how rubber bands store energy to launch projectiles across the room.
Tools
- hot glue gun
- wire cutters or pliers
- scissors
- small wooden cubes with pre-drilled holes (4)
- hot glue sticks (3)
Materials
- standard craft sticks (15)
- small wooden cubes without holes (6)
- thin wooden dowel (1 piece, 6 inches)
- rubber bands (2-3)
- small plastic cup (1)
- clear tape (1 roll)
- foam cubes for projectiles (5)
Safety
- Adult supervision required when using the hot glue gun to avoid burns.
- Be careful when cutting or breaking craft sticks with pliers or wire cutters.
- Never aim the catapult at people, pets, or fragile objects.
- Adult supervision required for hot materials. Burn risk.
- Adult supervision required for sharp objects.
- Protect work surface. Materials may stain clothing.
- Rubber bands can snap. Wear eye protection if launching projectiles.
Steps
- Break three craft sticks in half using pliers or wire cutters to create six half-sticks.
- Build the base: Glue two full craft sticks together using a half-stick as a center brace. Flip it over and glue two regular cubes to the corners above the brace.
- Attach two cubes with holes to the opposite end of the base, ensuring the holes are aligned.
- Reinforce the base by gluing additional craft sticks along the sides and top, leaving the gap between the two cubes with holes open.
- Create two triangular supports using craft sticks and glue them to the sides of the base. Glue two regular cubes to the top of these triangles.
- Glue the remaining half-sticks to the four sides of these top cubes to create a stop bar.
- Build the catapult arm: Create two beams by gluing two craft sticks together with a third stick across the middle for support.
- On one beam, glue a regular cube in the center and one on the end. Glue a cube with holes to the opposite end, ensuring the holes point sideways.
- Glue the second beam on top of these three cubes to sandwich them together.
- Cut the wooden dowel to the width of the base. Slide the catapult arm through the middle of the base and push the dowel through the cube with holes on the arm and the cubes with holes on the base to create a hinge.
- Loop a rubber band around the catapult arm, stretch it under the stop bar at the top, and loop it back over the arm to create tension.
- Secure a plastic cup to the end of the catapult arm using both hot glue and clear tape for maximum strength.
- Load a foam cube into the cup, hold the base steady, pull the arm back, and release to launch!